Start here
New to sourdough? Start here.
Here's a simple guide to getting your sourdough starter journey officially, well, started. It only takes two ingredients: flour and water.
Six steps, in order, from an empty jar to your first loaf.
7 days, step by step
Step 1: Get your stuff together
Start with the essentials, like a kitchen scale, a clear glass jar, a spatula and a rubber band. For flour, I use bread flour and rye flour.
A digital kitchen scale ensures your measurements are spot-on every time, and every amount here is in grams.
Step 2: Make your starter (Day 1)
Before you start, weigh your empty jar without the lid and write the number down (example: 315g). Mix 150g lukewarm water at 85°F with 100g bread flour until there's no dry flour left.
Cover it loosely, wrap a rubber band around the jar at the level of the mixture to track the rise and fall, and wait 24 hours.
Step 3: Feed it every day (Days 2 to 7)
Each day, discard all but the amount to keep. Your jar weight plus that amount is what your jar should weigh once the rest is gone. Then mix in the water, 70g bread flour and 30g rye flour.
Days 2 and 3
Keep 70g starter, then add 115g lukewarm water at 85°F, 70g bread flour and 30g rye flour.
Days 4 and 5
Keep 70g starter, then add 100g lukewarm water at 85°F, 70g bread flour and 30g rye flour.
Day 6
Keep 50g starter, then add 100g lukewarm water at 85°F, 70g bread flour and 30g rye flour.
Day 7
Keep 15 to 30g starter, then add 100g room temperature water, 70g bread flour and 30g rye flour.
Mix until combined and wait 24 hours. From Day 4 on, if your starter has started bubbling, refeed the same amount in 12 hours instead.
Day 7 is not only your last feeding until it's ready to be used, it's also your maintenance feeding from here on out.
No activity yet? That's ok! Sometimes it takes a little bit longer depending on a million factors. Keep going. And don't forget to give it a name. After all, it is alive!
Step 4: Check that it's ready
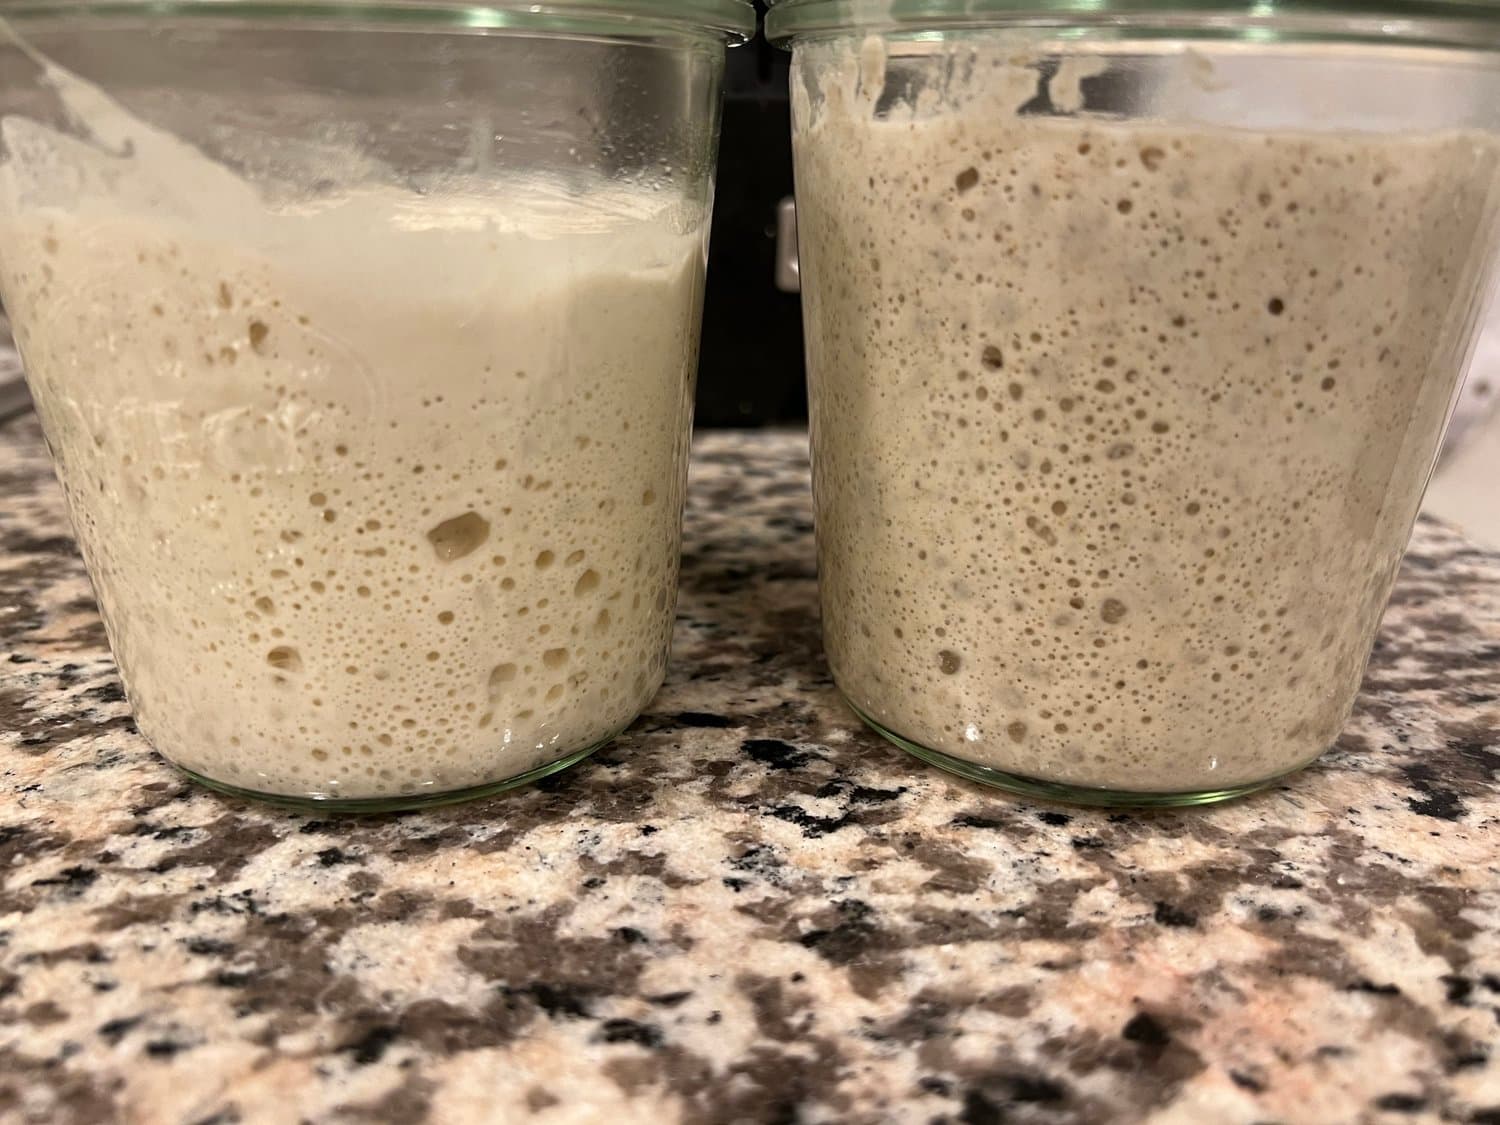
Right after you feed it, stretch a rubber band around the jar at the level of the starter. When it reliably doubles in height, it's alive and strong enough to raise bread.
A healthy starter has bubbles, a consistent rise and fall, and a yeasty, slightly sour smell. If you love it, it will love you back.
Step 5: Bake your first loaf
I usually do this over 3 days, starting my leaven Friday night, prepping the dough Saturday and baking Sunday morning.
If it's not perfect, you can still eat it (usually)! Everyone's gotta start somewhere. Bake it anyway.
Step 6: Keep it alive between bakes
If you plan to bake frequently, keep your starter on the counter and try to feed it at the same time each day. If you bake once a week or less, feed it and stick it in the fridge. This slows the process and prevents mold from forming.
If you mess up, don't get discouraged, you can always start again!
The book
Sourdough Starter for Starters
Everything I wish someone had handed me in January 2020: the starter, the feedings, the failures, and the bread at the end of it.
See the bookFree printable
The starter conversion chart
Every amount on this page is in grams, and that's a lot of numbers for your first week. My starter conversion chart fits on one page, so it can live right next to your jar. Drop your email and I'll send it over.